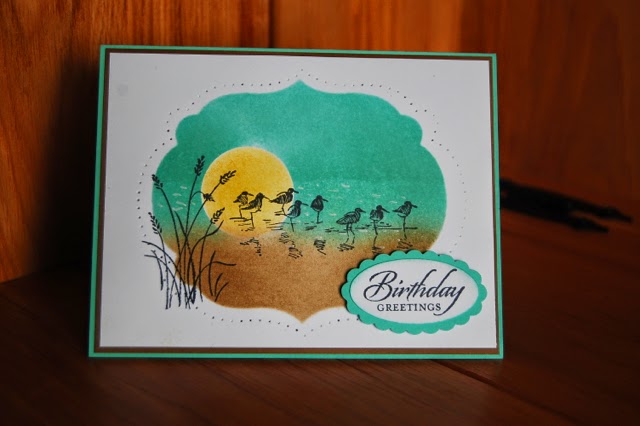


Here is another card we will be making at my next Stampers' Techniques club. I was really glad to see that this stamp set, Wetlands, is NOT on the retiring list of stamps that are going away, as I really, really love this set, and reach for it often when I am making a masculine card. I have committed to making one masculine card in every class that I do, as we all need cards for the men in our lives, even though they might not be the most fun to make. I have also been wanting to teach the reflection technique, so this was the perfect set to do it with.
You'll start by cutting a Whisper White die cut with the Labels framelits (which are retiring, by the way -- so if you want them, get them now!). Next, stamp your top Canadian goose image as close to the top of your die cut as you can using Memento Black ink. Then, use the slick side of your stamp-a-ma-jig imaging sheet, and stamp the goose again in the black ink. Turn your imaging sheet over, so the inked area is facing your card stock -- line up the reflection image with the original goose you stamped -- making sure the legs and body match up. Lay your imaging sheet down and rub it firmly to transfer the inked image to your die cut piece. When you lift the imaging sheet off, you will have the reflected image on your die cut. It will not be as crisp of an image as the original stamped one, and that is ok because a reflected image is more fuzzy in real life. Now, to get that sponged look, I started by masking the body of the goose so that I didn't get blue sky ink on him. I then sponged the sky with Pool Party ink. Next, I used a sticky note and sponged the grasses and soil line with Old Olive and Soft Suede ink. I wanted the part above the water to be more vibrant than below the water line, so I sponged accordingly. I then used a Blender pen to add some Crumb Cake ink to the goose body, and also blended the sky/water line a little to create that blurred border. I used a Pool Party marker and a chalk marker to add some streaks to make the water look more realistic. After assembling the card, I added crystal effects to the water area -- scribbling it over the entire water area to further add to the "water look".
I really love how this card came out. Makes me want to try this idea again. One note about this technique: I think a die based black ink, like the Tuxedo Memento black, works best for this rather than stayzon ink, as the stayzon won't transfer from your imaging sheet to the card stock very well, I've found.
Other things used in this card: Pool Party card stock base, Basic Black card stock, Neutrals candy dots, burlap ribbon, the zig zag embossing folder, Teeny Tiny wishes stamp set, word window punch, and the retiring modern label punch.
Hoping this inspires you to try the reflection technique for yourself!